Master the Basic Macrame Knot in Just 5 Minutes with This Comprehensive Guide. This straightforward step-by-step tutorial is designed to assist beginners in crafting stunning projects effortlessly.
If you are embarking on your macrame journey, mastering some essential knots serves as an ideal starting point. The beauty of these knots lies in their simplicity; they require only a few basic tools: some macrame cord, a stable base to attach your work, and a healthy dose of patience. With these elements, you can begin creating exquisite pieces of art.
5-Minute Easy Macrame Knots
1. Lark’s Head Knot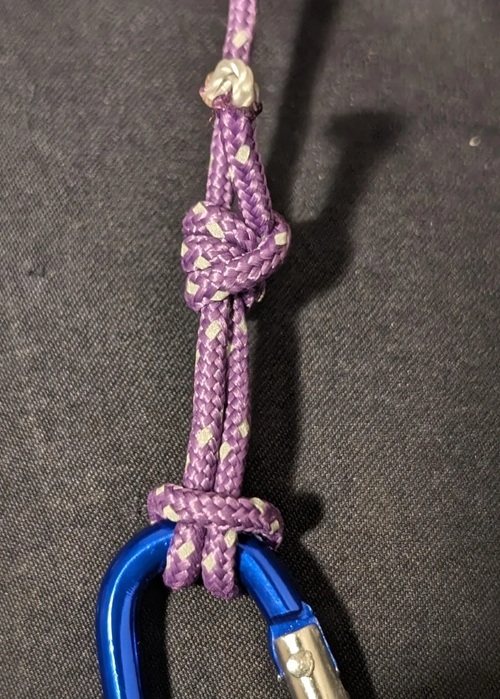
The lark’s head knot is the foundational knot that every beginner will learn as they start their macrame journey. This knot serves the important function of attaching cords to a dowel, ring, branch, or any other type of support, creating a clean and symmetrical attachment that keeps your cords aligned perfectly.
You will frequently find this knot at the top of various macrame projects such as wall hangings, plant holders, curtains, and many other decorative macrame pieces, making it an essential skill in your crafting repertoire.
How to Make the Lark’s Head Knot
- Begin by folding your cord in half to create a loop.
- Place this loop under the ring, dowel, or rod you are working with.
- Next, pull the two ends of the loose cords up and through the loop you just formed.
- Finally, pull down gently until the knot securely rests on your support, tightening it as needed.
2. Reverse Lark’s Head Knot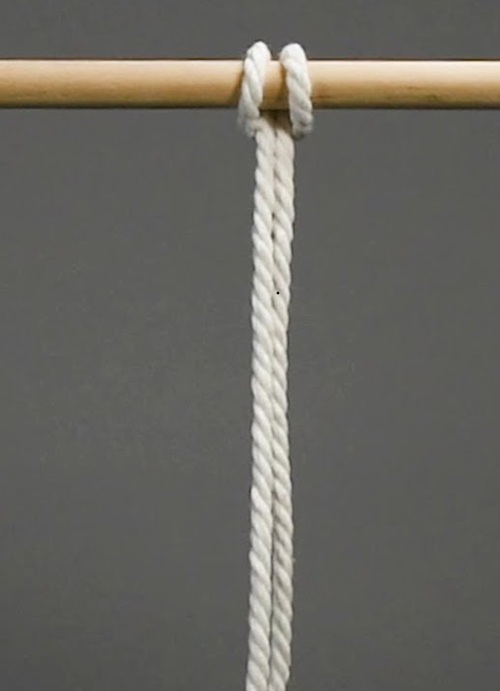
The reverse lark’s head knot is essentially the inverse of the standard lark’s head knot, resulting in a different visual texture on the front side of your pattern. This knot can be used to introduce an element of symmetry, contrast, or subtle style variations into your macrame projects.
How to Tie the Reverse Lark’s Head Knot
- Begin with your cords prepared and ready for knotting.
- Take the folded end of your cord and position it under your stick or holding cord.
- Bring the two ends over your holding cord and then under the folded part of the cord. Pull tightly to secure.
3. Half Knot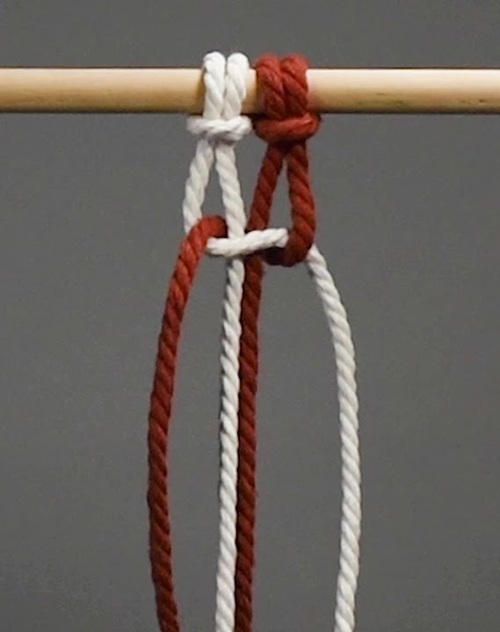
The half knot is where many patterns begin. When executed multiple times in the same direction, this knot tends to twist into a captivating spiral, bringing a sense of movement and flow to your design aesthetic.
It is commonly utilized in creating plant hangers, necklaces, belts, and various statement pieces where texture and depth play a pivotal role.
How to Tie the Half Knot
-
- Start with a total of four cords: two center cords and two outer cords.
- Cross the left working cord under the right while passing it over the center cords.
- Bring the right working cord underneath the center cords and then up over the left working cord.
- To secure the knot, pull both working cords tightly until the knot is firm.
- Repeat these steps from the same side repeatedly to generate a spiral knot pattern.
4. Square Knot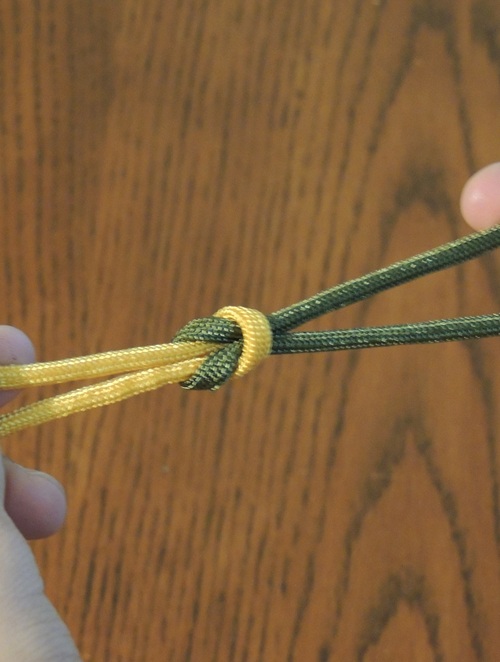
The square knot is a versatile and strong knot created by tying two half-knots in alternating directions. This particular knot is a favorite in the macrame community due to its impressive strength and visually pleasing structure.
You will frequently see the square knot in a variety of applications, including bracelets, belts, wall hangings, plant hangers, and decorative panels where both durability and aesthetic balance are essential requirements.
How to Tie the Square Knot
- Start by tying the first half knot, initiating from the left side of your work.
- Proceed to tie a second half knot, ensuring you start from the right side this time.
- Pull both working cords evenly to tighten the knot, ensuring it appears square.
5. Half Hitch Knot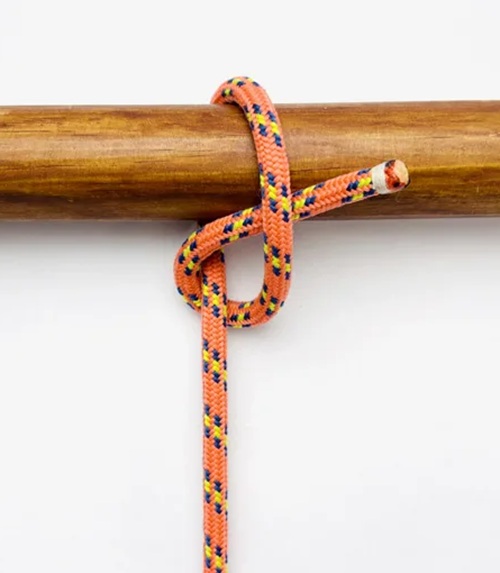
The half hitch knot stands as one of the most invaluable knots in macrame, celebrated for its versatility. This knot can be executed in various orientations, whether horizontally, vertically, or diagonally. This makes it ideal for forming borders, outlines, and intricate designs within any project.
When the half hitch knot is repeated, it transforms into the double half hitch, predominantly employed in geometric designs, lettering, and carefully structured wall hangings.
How to Tie the Half Hitch Knot
- Select one cord to serve as the anchor cord, which will remain relatively stationary throughout the knotting process.
- Take a working cord and wrap it over the anchor cord, then thread it under, pulling it through the newly formed loop.
- Gently tighten the knot, ensuring it rests neatly against the anchor cord.
6. Overhand Knot
The overhand knot is one of the most straightforward knots in macrame yet plays a crucial role in securing the ends of cords and preventing fraying, thus enhancing the longevity and polished appearance of your projects.
You will often find this knot utilized at the ends of braids, in various plant hangers, tassels, and macrame jewelry.
How to Tie the Overhand Knot
- Cross your cord over itself to form a loop.
- Pass the end of the cord through this loop.
- Pull tight to secure the knot, making adjustments as necessary.
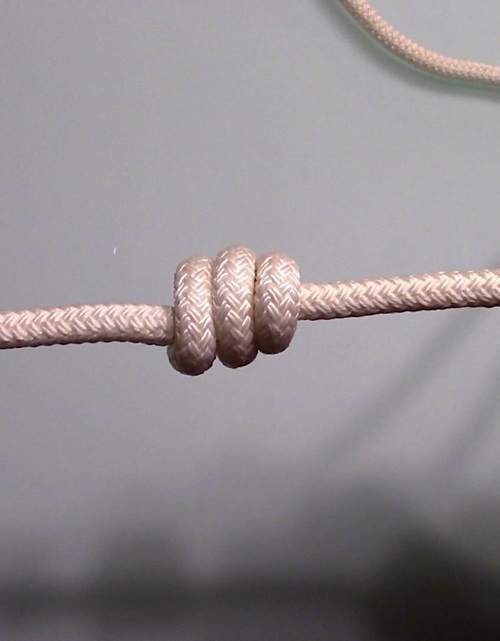
7. Wrap Knot (Gathering Knot)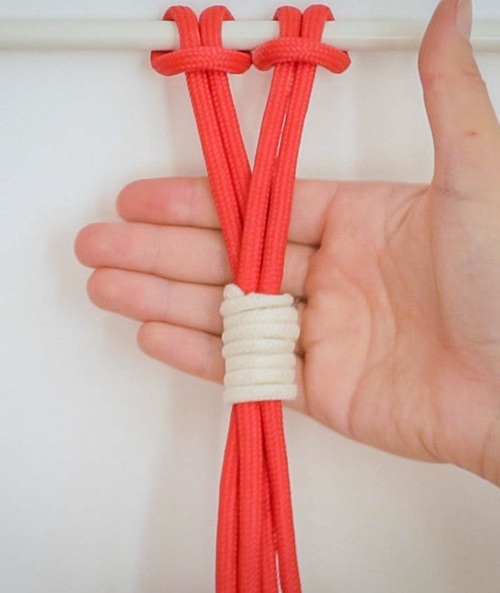
The gathering knot, often referred to as the wrapping knot, is a fantastic choice for efficiently bundling multiple cords together, ensuring that they have a tidy and organized appearance. This particular knot is widely utilized at the top or bottom of plant hangers, bag handles, and wall hangings, serving both functional and aesthetic purposes.
This knot not only secures the cords effectively but also adds an elegant finishing touch to your project, enhancing its overall visual appeal.
How to Tie the Gathering Knot
- Begin by cutting a short piece of cord and folding it in half to create a loop.
- Align the loop alongside the cords you wish to gather, ensuring the loop points upward.
- Wrap the longer section of the cord tightly around all the gathered cords, moving in an upward direction.
- Thread the end of the wrapped cord through the loop you initially formed.
- Pull the bottom tail to seamlessly hide the loop within the wraps.
- Trim any excess cord for a clean and polished finish.
Common Beginner Mistakes & How to Fix Them
It is entirely normal to make a few minor errors while learning new knots and techniques, especially when you are just starting. However, by recognizing these common mistakes and understanding how to rectify them, you can significantly improve your knotting skills and overall results.
Often, knots may appear either too loose or excessively tight, causing the pattern to feel uneven and mismatched. To avoid this issue, take your time and make adjustments to the knot before finalizing the tightness, or focus on maintaining a consistent tension throughout your work.
If you are new to macrame, misjudging the length of the cord can pose a significant challenge. A helpful tip is to always cut your cord a bit longer than you initially think you will need to ensure you have enough material to work with as you develop your project.
Another common pitfall is attempting to jump right into a large project without first practicing your basic knots. It is advisable to take some time to practice a few knots using scrap cords before you tackle more intricate designs.
While knotting, it is also possible for cords to twist or become entangled with each other. A useful guideline is to remember to gently straighten the cord and allow it to hang freely before pulling the knot tight.
