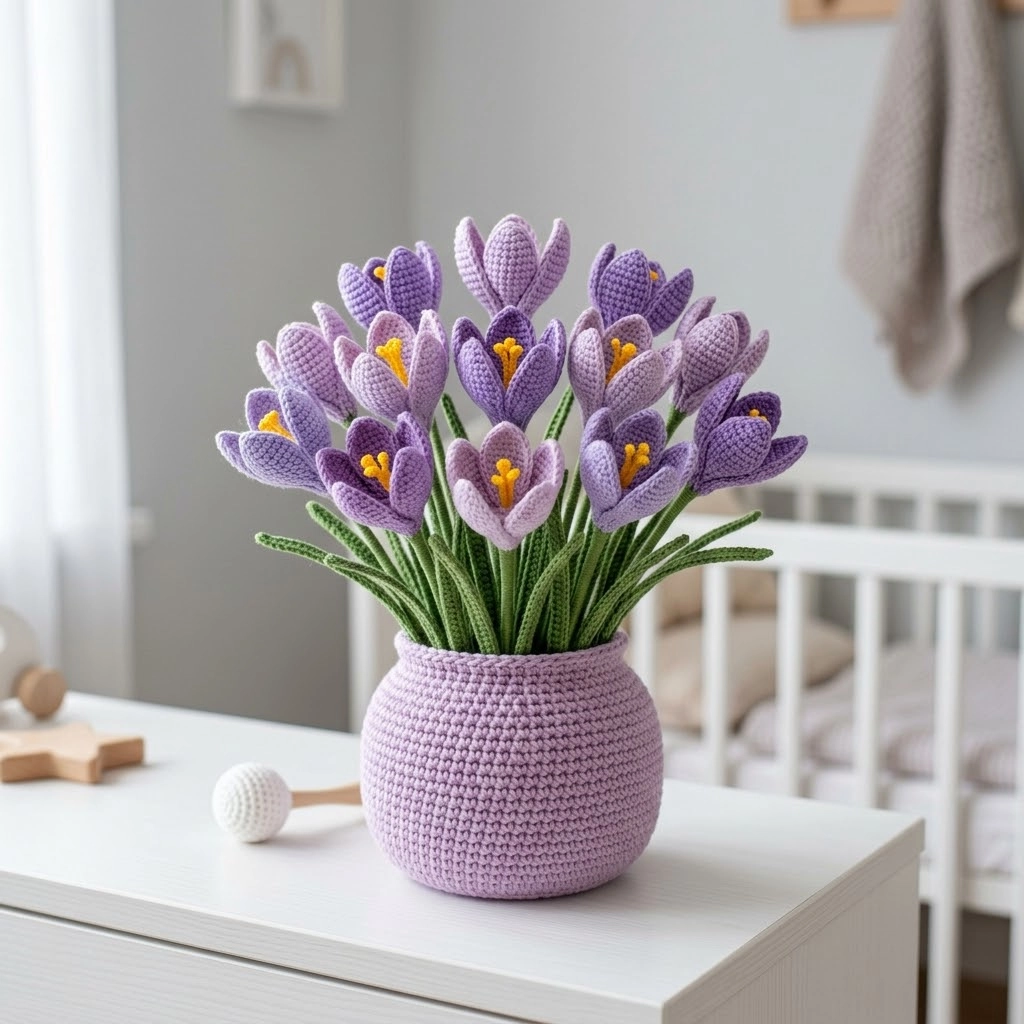
Spring has arrived on my hook, and I could not be more excited to share this project with you. This violet crocus crocheted nursery pot brings the cheerful energy of early spring blooms right into your home. No watering required. No wilting. Just soft, sculptural beauty that lasts forever.
I designed this crochet pattern after falling in love with the first crocuses pushing through late winter snow. Something about those delicate purple petals with bright yellow centers just feels like hope. Now you can capture that feeling in yarn and display it anywhere. A nursery shelf. A windowsill. Your office desk. Wherever you need a little reminder that beautiful things are growing.
This is an intermediate level crochet pattern, but confident beginners can absolutely tackle it. If you can work in the round and know how to increase and decrease, you have the skills. The magic here comes from repetition and assembly rather than complicated techniques. Take your time, and you will create something stunning.
Why You Will Love This Crochet Pattern
Let me tell you what makes this project special. Each element is simple on its own. A petal is just a small oval worked in rows. A stem is a tube. A leaf is flat and tapered. But when you bring fifteen to twenty flowers together in that gorgeous rounded pot, the effect is breathtaking.
This crocus flower crochet tutorial works up faster than you might expect. Once you get into the rhythm of the petals, they fly off your hook. I found myself making extras just because the process felt so satisfying.
The finished arrangement stands approximately 8 to 10 inches tall including the pot. It makes a perfect handmade gift for new parents, gardeners, or anyone who appreciates everlasting flowers. The lavender and purple tones coordinate beautifully with neutral nursery decor while adding a pop of color.
Materials You Will Need
Gather these supplies before you begin. Having everything ready makes the process smooth and enjoyable.
Yarn:
- Worsted weight yarn (medium weight, category 4) in the following colors:
– Light lavender (approximately 150 yards for flowers)
– Medium purple (approximately 100 yards for flowers)
– Deep violet (approximately 50 yards for accent flowers)
– Bright yellow or gold (approximately 20 yards for stamens)
– Grass green (approximately 100 yards for stems and leaves)
– Soft lilac (approximately 80 yards for the pot)
I used a smooth acrylic blend for easy care and vibrant color. Cotton works beautifully too and gives a slightly more structured finish.
Hook:
- 3.5mm (E/4) crochet hook for flowers and pot
- 3.0mm (C/2 or D/3) hook for stamens (optional, for tighter work)
Notions:
- Tapestry needle for weaving ends and assembly
- Stitch marker
- Polyester fiberfill stuffing
- Floral wire, 18 gauge (approximately 20 pieces, 8 inches each)
- Green floral tape
- Small piece of foam or styrofoam to fit inside pot base
- Scissors
- Row counter (optional but helpful)
Gauge
Gauge is not critical for this decorative project. However, working too loosely will show stuffing through your stitches. Aim for a tight, firm fabric especially on the petals and pot. If you can see through your stitches, go down a hook size.
Abbreviations and Stitch Definitions
Let me walk you through every stitch you will use. I define each one so you never have to wonder what I mean.
Ch — Chain: Yarn over, pull through loop on hook. The foundation for most crochet.
Sl st — Slip stitch: Insert hook, yarn over, pull through stitch and loop on hook in one motion. Used for joining and invisible movement.
Sc — Single crochet: Insert hook, yarn over, pull up a loop (2 loops on hook), yarn over, pull through both loops. Your basic short stitch.
Inc — Increase: Work 2 single crochets into the same stitch. This adds one stitch to your count.
Dec — Decrease (invisible decrease): Insert hook through front loops only of next 2 stitches, yarn over, pull through both front loops, yarn over, pull through both loops on hook. Creates a neat, nearly invisible decrease.
Hdc — Half double crochet: Yarn over, insert hook, yarn over, pull up a loop (3 loops on hook), yarn over, pull through all 3 loops. Slightly taller than single crochet.
Dc — Double crochet: Yarn over, insert hook, yarn over, pull up a loop, yarn over, pull through 2 loops, yarn over, pull through remaining 2 loops. Twice the height of single crochet.
FLO — Front loop only: Work into only the front loop of the stitch (the loop closest to you).
BLO — Back loop only: Work into only the back loop of the stitch (the loop farther from you).
MR — Magic ring: An adjustable starting loop that pulls completely closed. If you prefer, chain 2 and work into the first chain instead.
Crocus Petal Pattern (Make 5 Per Flower)
Each crocus flower needs 5 petals. For a full arrangement like mine, plan on making 15 to 20 complete flowers. That means 75 to 100 petals total. I know it sounds like a lot, but they work up quickly. Put on a podcast and enjoy the process.
Using your chosen purple shade and 3.5mm hook:
Row 1: Ch 7. Starting in 2nd ch from hook, sc in each ch across. (6 sts)
Row 2: Ch 1, turn. Inc in first st, sc in next 4 sts, inc in last st. (8 sts)
Row 3: Ch 1, turn. Inc in first st, sc in next 6 sts, inc in last st. (10 sts)
Rows 4 through 6: Ch 1, turn. Sc in each st across. (10 sts)
Row 7: Ch 1, turn. Dec, sc in next 6 sts, dec. (8 sts)
Row 8: Ch 1, turn. Dec, sc in next 4 sts, dec. (6 sts)
Row 9: Ch 1, turn. Dec, sc in next 2 sts, dec. (4 sts)
Row 10: Ch 1, turn. Dec twice. (2 sts)
Row 11: Ch 1, turn. Dec. (1 st)
Fasten off, leaving a 6 inch tail for assembly.
Edging (optional but recommended): Join yarn at base of petal. Sc evenly around entire petal edge, working 2 sc in corners to keep it flat. Sl st to join. Fasten off. This gives a polished look.
Stamen Pattern (Make 1 Per Flower)
The bright yellow center is what makes these flowers pop. Each stamen cluster has three little prongs.
Using yellow yarn and 3.0mm or 3.5mm hook:
Ch 8. Starting in 2nd ch from hook, sl st in next 2 ch, sc in next 2 ch, sl st in remaining 2 ch. This creates one prong.
For the cluster: Ch 8 two more times, repeating the same stitch pattern. You will have 3 prongs connected at the base.
Fasten off, leaving a long tail. Twist the three prongs together gently at the base. They should fan out slightly at the top.
Stem Pattern (Make 1 Per Flower)
Stems are simple tubes worked in continuous rounds. No joining at the end of each round. Use your stitch marker to track the beginning of each round.
Using green yarn and 3.5mm hook:
Round 1: MR, 6 sc into ring. Pull ring closed. (6 sts)
Rounds 2 through 25: Sc in each st around. (6 sts)
Do not stuff yet. Slip a piece of floral wire inside the tube before closing. The wire should extend about 1 inch below the stem base and reach up into where the flower will attach.
Fasten off, leaving a long tail for attaching the flower head.
Leaf Pattern (Make 10 to 15)
The long, slender leaves add realism and fill out the arrangement beautifully. They are worked flat.
Using green yarn and 3.5mm hook:
Row 1: Ch 20. Starting in 2nd ch from hook, sl st in first ch, sc in next 5 ch, hdc in next 6 ch, sc in next 5 ch, sl st in last 2 ch. (19 sts)
Row 2: Ch 1, turn. Working in BLO, sl st in first 2 sts, sc in next 5 sts, hdc in next 5 sts, sc in next 5 sts, sl st in last 2 sts. (19 sts)
Fasten off. The leaf will curl slightly, which looks natural.
For variety, make some leaves shorter by starting with ch 15 instead.
Flower Assembly
Now comes the satisfying part. You will build each flower step by step.
Step 1: Arrange 5 petals in a circle, overlapping them slightly at the base. The pointed tips fan outward. Using matching yarn, whip stitch the bases together securely.
Step 2: Place the stamen cluster in the center of the petal arrangement. The yellow prongs should peek up above the petals. Stitch the stamen base firmly to the petal base.
Step 3: Position the top of the stem against the underside of the assembled flower head. The wire should poke up into the center. Stitch securely around the connection point. Wrap with green floral tape for extra stability and a clean look.
Repeat for all flowers. I made 18 flowers for my arrangement: 8 in light lavender, 6 in medium purple, and 4 in deep violet. Vary the heights by adjusting stem length.
Crocheted Pot Pattern
This rounded pot uses the amigurumi method. Work in continuous spirals without joining. Use a stitch marker.
Using lilac yarn and 3.5mm hook:
Round 1: MR, 6 sc into ring. (6 sts)
Round 2: Inc in each st around. (12 sts)
Round 3: *Sc 1, inc* repeat around. (18 sts)
Round 4: *Sc 2, inc* repeat around. (24 sts)
Round 5: *Sc 3, inc* repeat around. (30 sts)
Round 6: *Sc 4, inc* repeat around. (36 sts)
Round 7: *Sc 5, inc* repeat around. (42 sts)
Round 8: *Sc 6, inc* repeat around. (48 sts)
Rounds 9 through 11: Sc in each st around. (48 sts) Work in BLO for Round 9 only to create the base edge.
Round 12: *Sc 6, dec* repeat around. (42 sts)
Round 13: Sc in each st around. (42 sts)
Round 14: *Sc 5, dec* repeat around. (36 sts)
Rounds 15 through 20: Sc in each st around. (36 sts)
Round 21: *Sc 5, inc* repeat around. (42 sts)
Round 22: Sc in each st around. (42 sts)
Round 23: *Sc 6, inc* repeat around. (48 sts)
Round 24: Working in FLO, sc in each st around. (48 sts) This creates the rim detail.
Round 25: Sc in each st around. (48 sts)
Sl st to next st. Fasten off. Weave in ends.
Final Assembly
Step 1: Trim your foam to fit snugly inside the pot base. This will anchor your flowers.
Step 2: Push the foam down into the pot. Add a small amount of stuffing around the sides if needed for a secure fit.
Step 3: Insert flower stems into the foam, arranging them in a pleasing cluster. Vary the heights. Place taller flowers in the center and back, shorter ones toward the front.
Step 4: Tuck leaves between and around the flowers, pushing the bases into the foam. Angle them outward for a natural look.
Step 5: Adjust until you are happy with the arrangement. The floral wire in the stems lets you bend and pose each flower.
Tips for Success
Work your petals and pot tightly. Loose stitches look less polished on amigurumi style projects.
Block your petals if they curl too much. A quick steam or wet block helps them lie flat.
Use floral tape generously on stems. It hides any messiness and adds stability.
Make extra flowers. Seriously. Once you see them come together, you will want more.
Wrapping Up Your Violet Crocus Crochet Pattern
You did it. You now have everything you need to create this beautiful violet crocus crocheted nursery pot from start to finish. This step by step crochet pattern walks you through every petal, stem, leaf, and stitch. The result is a stunning handmade arrangement that brings everlasting spring into any room.
I hope you love making this as much as I did. There is something deeply satisfying about building an entire bouquet with your own hands. Each flower is a small accomplishment. Together, they become something truly special.
Thank you so much for choosing this pattern. It means the world to me that you are here, hook in hand, ready to create. If you make this project, I would absolutely love to see your work. Tag me on Instagram or share in my Facebook group. Seeing your makes is the best part of my day.
Happy crocheting, friend. You have got this.
